All Islands in Order
| Number | Common names in sources | Main quest | Required boss | Next marker |
|---|---|---|---|---|
| 1 | Lighthouse | Recover the keeper’s boat keys | Spider Crab | Green Forest marker |
| 2 | Forest | Help the daughter catch the large fish | Giant Piranha | Yellow/orange Desert marker |
| 3 | Desert / Palm Trees | Trade an endangered fish to the Tourist | Pufferfish | Red Rocks marker |
| 4 | Rocks / Barn / Casino | Catch Tuna and bait the bird | Albatross | Pink Volcano marker |
| 5 | Volcano | Help the scientists and finish the whale sequence | Mutated Bowhead Whale | Keys home |
Some sources call Forest “Island 1” because they do not count the starting Lighthouse. The page matrix and Game8 quest guides count Lighthouse as Island 1, producing the five-number sequence used throughout this site. Descriptive names are included so players can still match guides that use the alternate convention.
How Island Unlocks Work
Arriving at a location is not enough to unlock the next one. Talk to the quest NPC, obtain the unique bait, defeat the correct boss, collect its trophy, and return that item. The coordinate reward then creates a new point on the Radar.
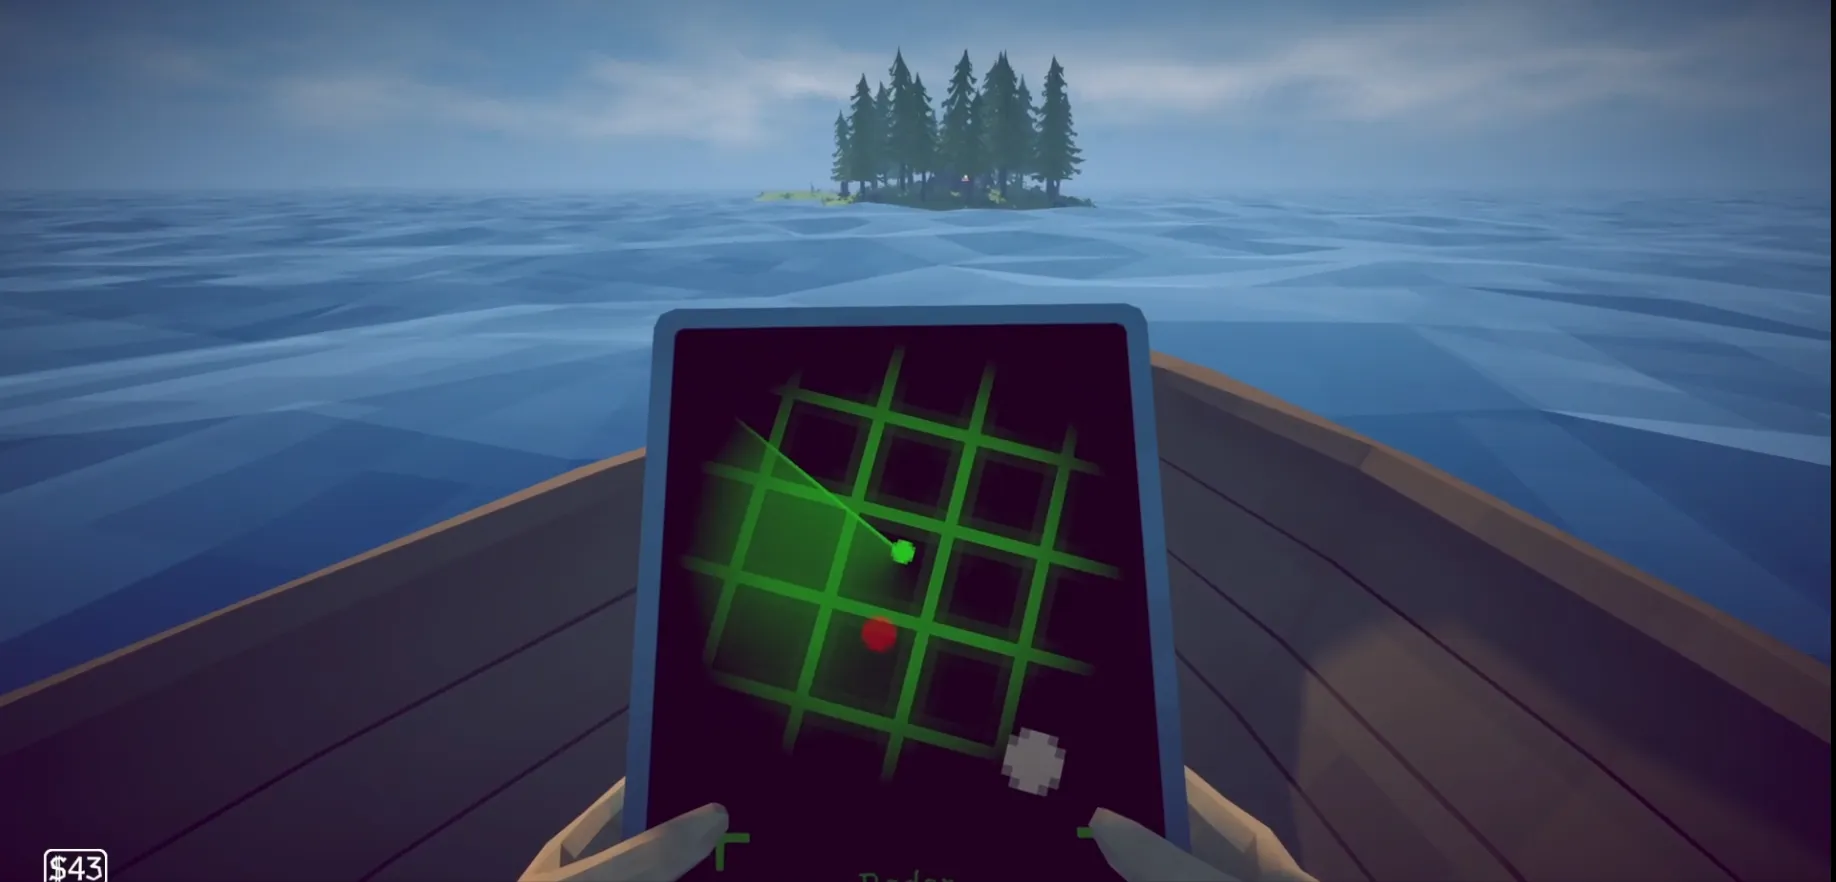
The Radar is an inventory tool rather than a full-screen map. Solo players should stop the boat before checking it because steering and reading at once is awkward. Co-op teams can use a driver and navigator, a pattern repeated in both the written walkthrough and the multiplayer transcripts.
Marker colors vary slightly between sources for the Desert step, with IGN using orange and Mobalytics using yellow. Follow the newly added marker and the visible landscape instead of treating color as the only identifier. The dedicated map guide explains landmarks and route confirmation.
Island 1: Lighthouse
Lighthouse is the starting location and needs no unlock. Gather clams, buy the Crab Fishing Rod, earn money, and give a Beer to the keeper to receive the Empty Beer Can. Use it to summon Spider Crab, then return its meat for the boat keys.
Buy the Radar before leaving. The island shop provides early melee gear, and a Knife makes the first boss much safer than bare hands. See the first boss guide for charge dodges and the escape timer.
Island 2: Forest
Follow the green marker and look for the tree-lined island. Speak with the daughter near the lake, upgrade to the Fishing Rod, and collect leeches for Modified Leech. Use it to summon Giant Piranha, manage its smaller piranha pressure, and return the skeleton.
Forest introduces the Pistol, Shotgun, Dynamite, and better fishing options. It is a useful place to establish one upgraded firearm rather than buying every weapon. The quest reward adds the Desert destination to the Radar.
Island 3: Desert or Palm Trees
The Tourist on this island trades Carrot bait for a Needlefish, Seahorse, or Bowlfish. All three are endangered entries caught with Standard Lure. Use the Carrot to summon Pufferfish and return the Fin after the fight.
Island 3 introduces the SMG, which is the repeated recommendation for Pufferfish. The boss rolls and leaves poison as it grows, so weapon preparation matters more than rushing the quest. Open the full third island guide for the local fish and battle sequence.
Island 4: Rocks, Barn, and Casino
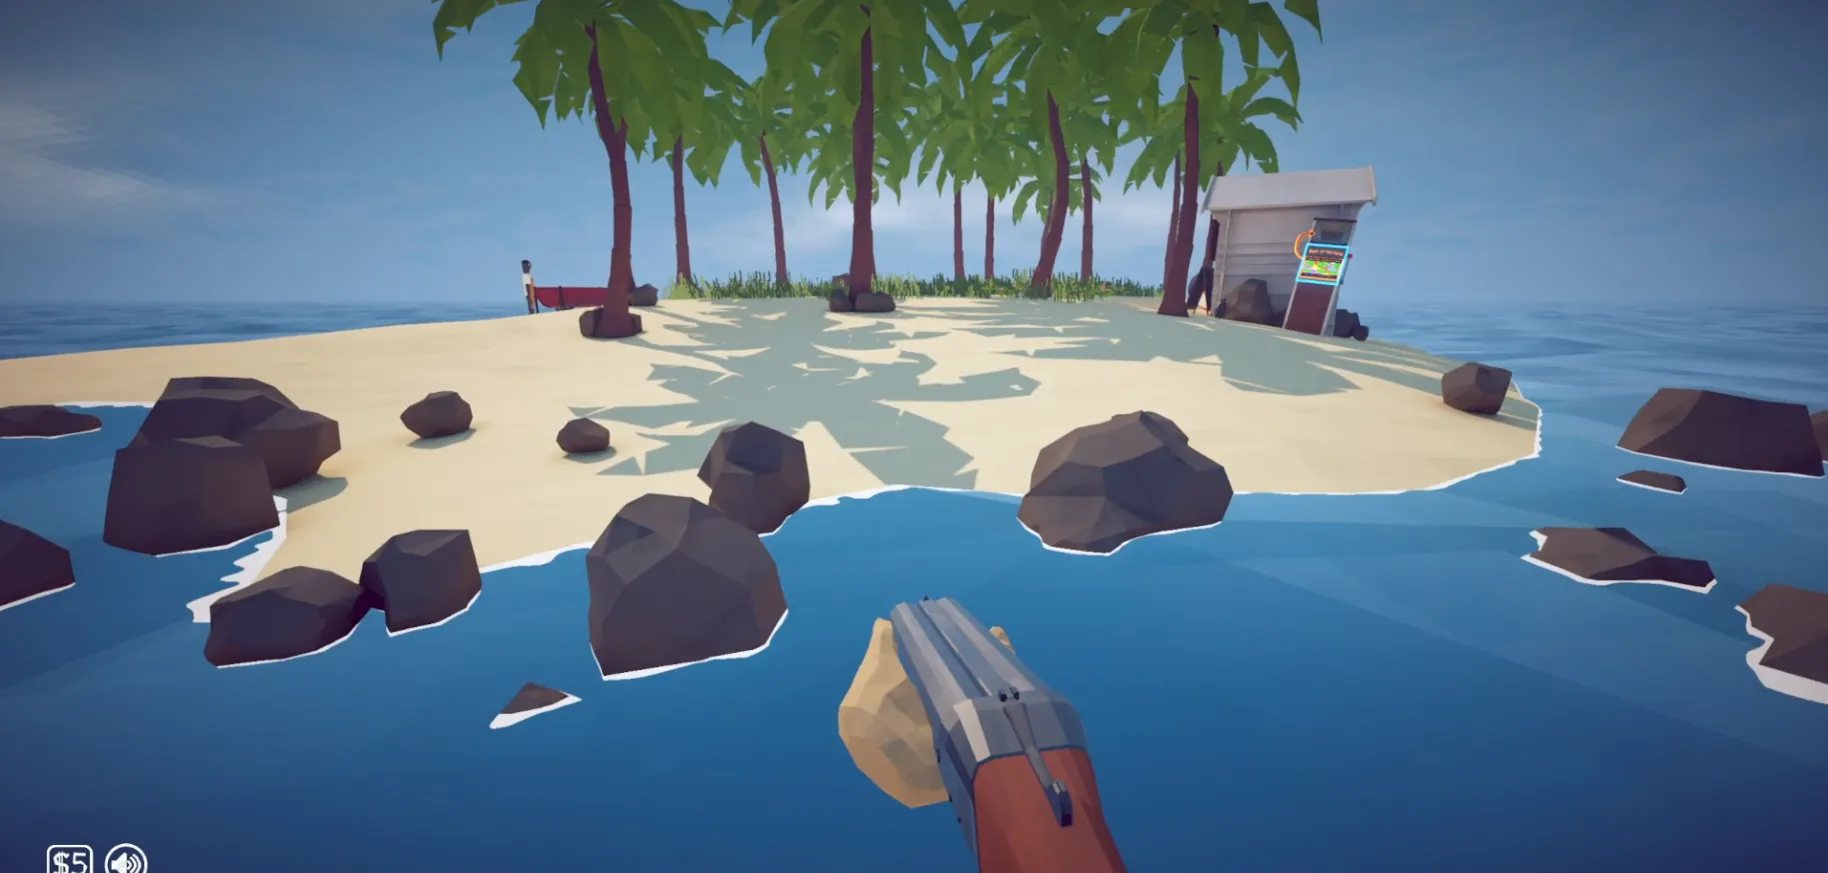
Follow the red marker to an island with several buildings. Buy Professional Lure for the normal fish pool and Professional Boss Lure when ready for Tuna. Defeat Tuna, place it on dry ground, and kill the Albatross that arrives.
Albatross remains airborne and attacks from above, making the Sniper Rifle and building cover valuable. Return its Head to the NPC inside the shop to receive the pink Volcano coordinate. The Island 4 guide covers the casino, shop order, and common Tuna mistake.
Island 5: Volcano
The volcano is the final island and is visually distinct from the water. Feed five fish to the scientist to receive the Fish Bucket, then summon and defeat the Bowhead Whale. Carry its body to the crater and drop it into the lava to trigger the Mutated Bowhead Whale.
Volcano offers Scientific lures and the Assault Rifle, but entering the whale sequence before upgrading can create a long, dangerous fight. Prepare food and equipment first. Return the final drop for the keys used to sail home and end the story.
Which Island Should You Visit Next?
If no new marker exists, revisit the current quest NPC with the boss drop. If a marker exists but the destination is unclear, match the visible landscape: trees for Forest, palms for Desert, multiple buildings for Rocks, and the volcano for the final stage. Do not use an old direct-to-Volcano speedrun route as normal progression because a local source says Patch 1.0.5 removed the skip.
Players collecting fish should revisit earlier islands only when the all fish table identifies a missing entry there. Progression lures become more expensive, but they do not replace the old island pools. Keep the relevant rod and bait available for collection clean-up.
Returning to Earlier Islands
Later shops may resell earlier lure tiers, but the target creature still belongs to its original island pool. Use the Radar to return with stronger weapons, catch the missing normal or Drip entry, and leave once the encyclopedia registers it. This is safer than carrying every old lure through the entire story and losing limited inventory space.
Before departing an old island, check whether a quest-specific creature was preserved. Ordinary catches can be sold, while Tuna, Bowhead Whale, and unreturned boss trophies must remain available for their handoffs. A short inventory review prevents collection clean-up from accidentally resetting story progress.
Related Guides
Use the full walkthrough for step-by-step story instructions, the boss hub for optional encounters, and all baits when an NPC exchange is unclear. The fish prices page helps decide where to earn money before a major weapon purchase. Return to this hub whenever an island name differs between external guides.